
Want new WordPress users, members, or form leads to land in AWeber automatically? This page covers how to connect FlowSync to AWeber and sync contacts to your lists.
AWeber connects through OAuth. You authorize FlowSync from inside your WordPress admin; there’s no client ID or secret to create yourself.
What you’ll need
- An AWeber account with at least one list already created.
- FlowSync installed and active on your WordPress site.
- A WordPress user with the
manage_flowsynccapability (admins have this by default).
Step 1: Connect AWeber in FlowSync
In WordPress, go to FlowSync → Integrations, find the AWeber card, and click Connect.
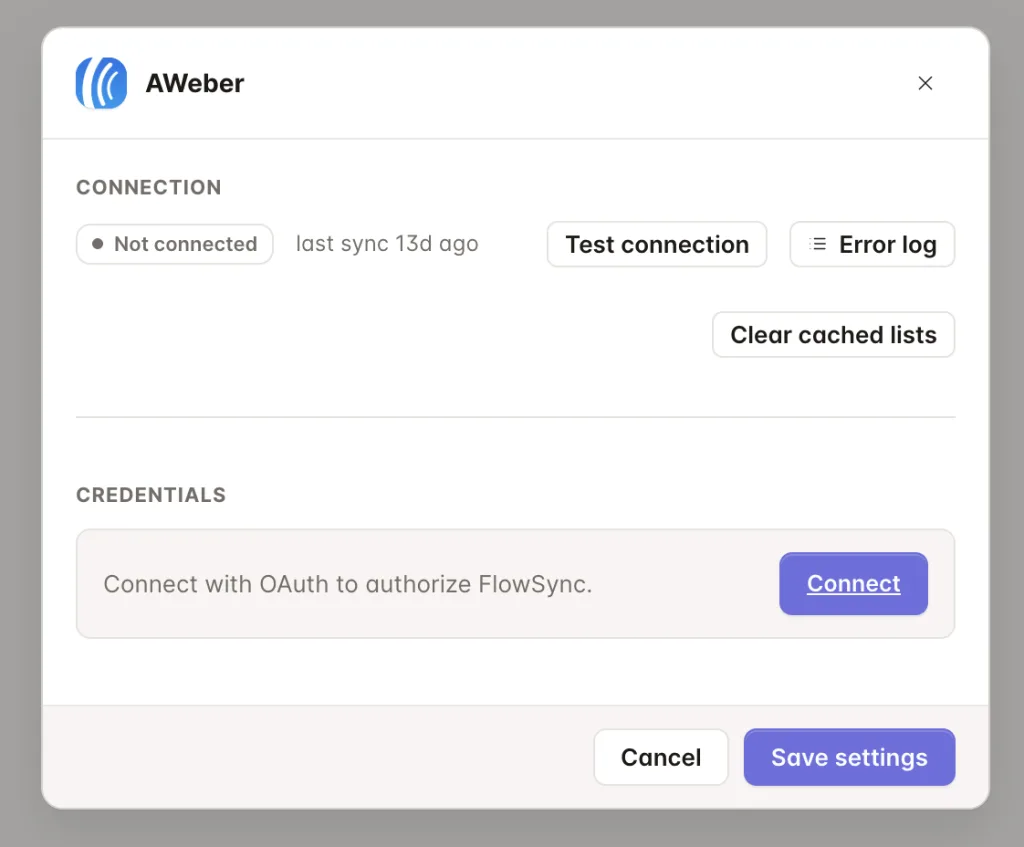
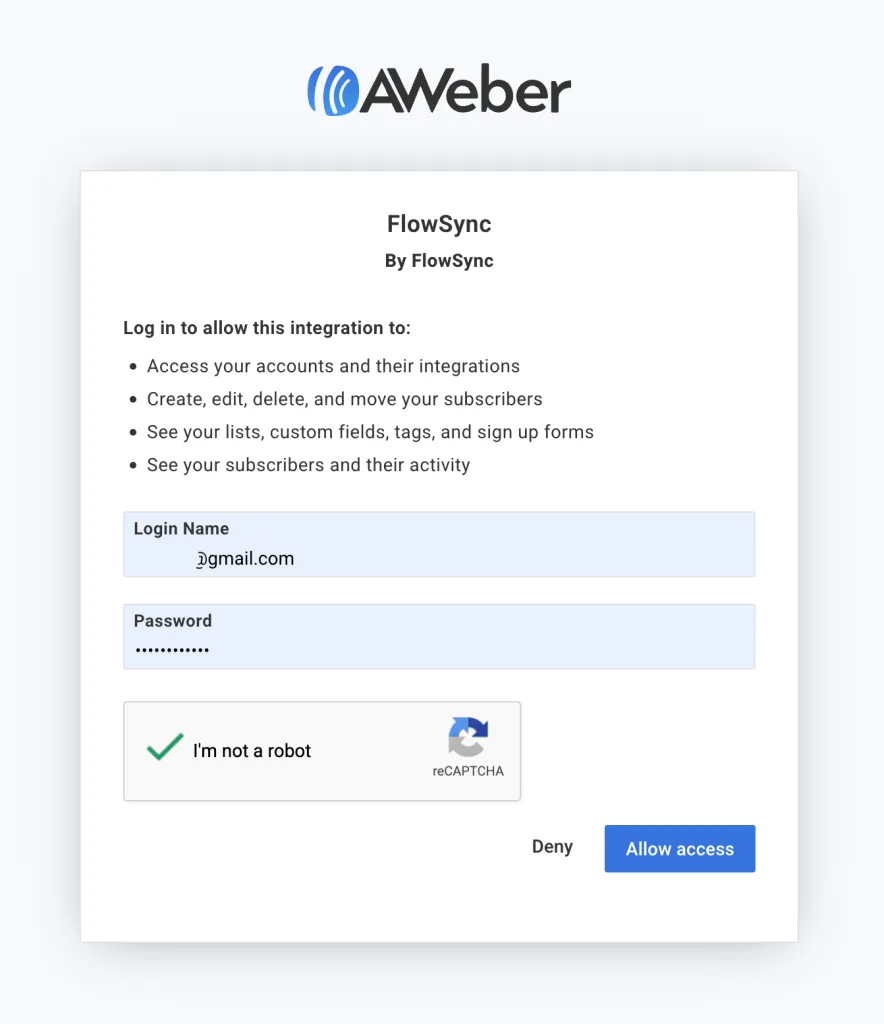
You’re sent to authorize with AWeber. Log in and click Allow.
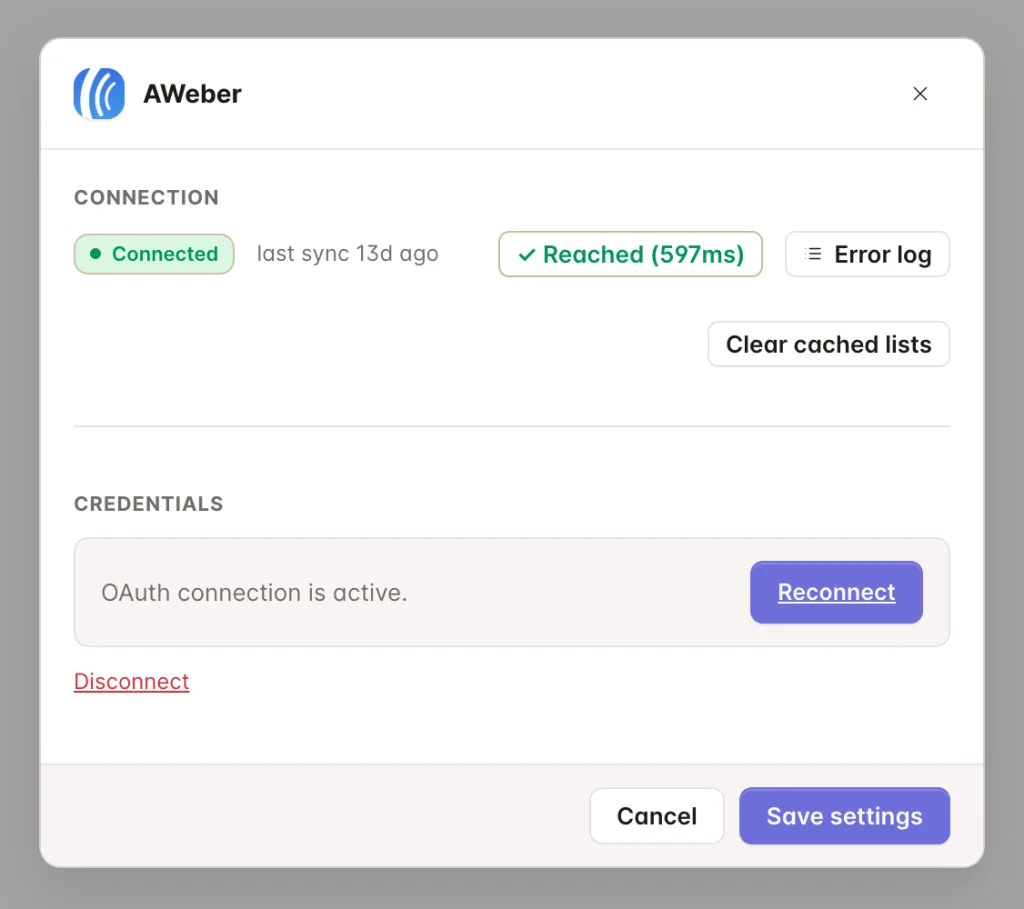
FlowSync redirects you back to FlowSync → Integrations with AWeber marked Connected. Click Test connection to confirm; a working connection shows Reached with a response time.
Step 2: Add an AWeber action to a workflow
Open a workflow and add an action:
- Add to AWeber List adds or updates a subscriber. FlowSync fetches every account and list your token can access, so pick the target list from the dropdown.
- Remove from AWeber List unsubscribes the matching contact from that list.
- Add AWeber Tag / Remove AWeber Tag also requires a List to be selected, since AWeber tags live inside a list.
For developers: AWeber’s list picker stores a composite value (
account_id:list_id) because one AWeber login can hold multiple accounts, each with its own lists.
Step 3: Map your fields
By default, FlowSync maps:
| WordPress | AWeber |
|---|---|
email | |
| First name | first_name |
| Last name | last_name |
Free maps these core fields. Pro adds any custom field defined on the selected AWeber list to the mapping dropdown automatically.
If something goes wrong
- AWeber card still shows “Not connected” after authorizing. The callback didn’t save. Reconnect from FlowSync → Integrations and check the error banner.
- List dropdown is empty. Your AWeber account has no lists yet. Create one in AWeber, then reopen the Configure modal.
- “AWeber subscriber was not found in the selected list” on a remove or tag action. The contact was already removed, or the wrong list is selected on that action.
- Tag actions fail even though sync works. Add/Remove Tag actions require a List chosen as scope, set on the action itself.
- Check the sync log. Failed syncs record the exact error AWeber returned.
Still need help? Contact our support team, and we’ll help you get it working.