
This page covers how to connect FlowSync to SendGrid so that new WordPress users, customers, or form leads are automatically added to your SendGrid marketing lists.
SendGrid has no contact tags, so this integration is list-based only. If you are used to tagging contacts in another platform, use separate lists instead.
What you’ll need
- A SendGrid account with Marketing Campaigns.
- A SendGrid API key with Marketing read and write permissions.
- FlowSync installed and active on your WordPress site.
- A WordPress user with the
manage_flowsynccapability (admins have this by default).
Step 1: Create the API key
In SendGrid, go to Settings → API Keys and create a key. Choose Full Access, or Restricted Access with Marketing set to read and write.
A Mail Send-only key will not work. That is the most common setup mistake here, because a Mail Send key is what most SendGrid tutorials tell you to create. FlowSync’s connection test will fail on it rather than half working.
Copy the key straight away. SendGrid shows it once.
Step 2: Connect SendGrid in FlowSync
In WordPress, go to FlowSync → Integrations, find the SendGrid card, and click Configure. Paste the API key and save.
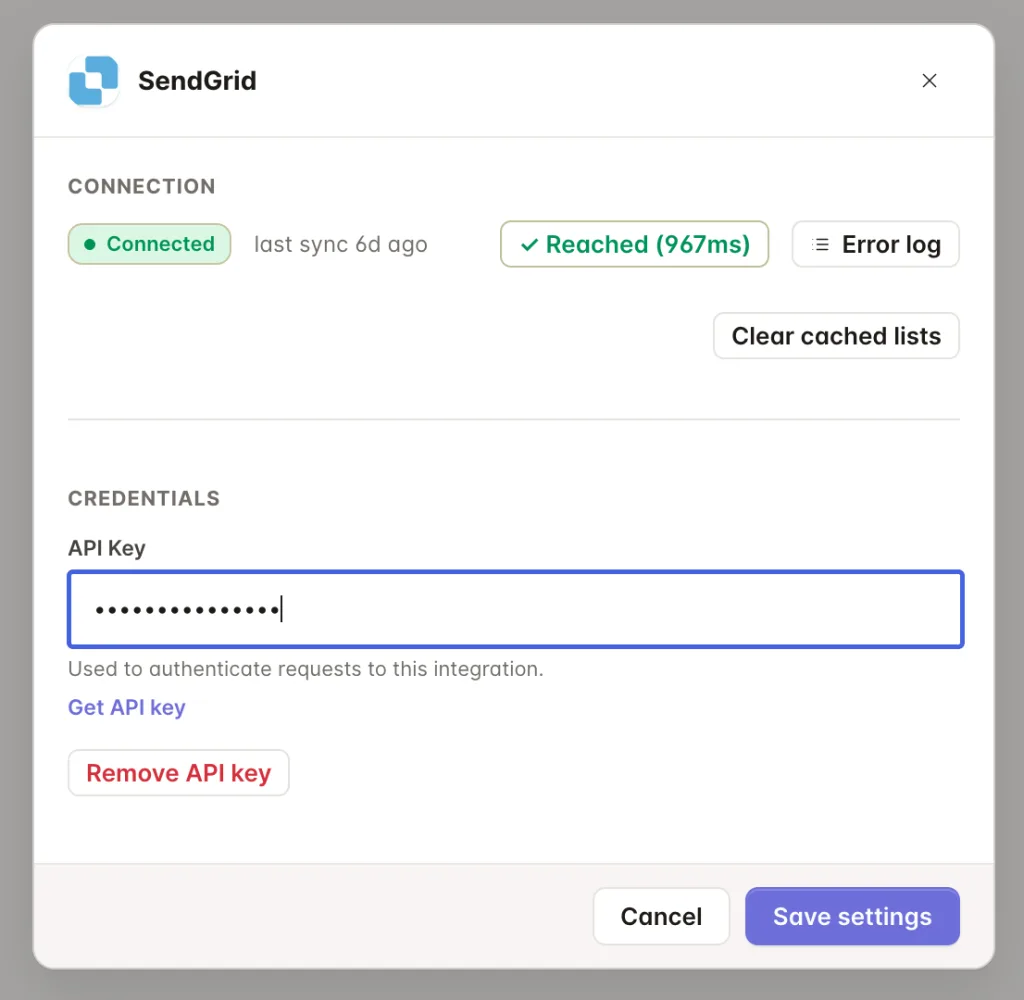
Click Test connection. FlowSync asks SendGrid for a single marketing list, so a key without Marketing scope fails here immediately.
Step 3: Add a SendGrid action to a workflow
Open a workflow and add an action:
- Add to SendGrid List creates or updates the contact and adds it to the list you pick. SendGrid matches on email, so an existing contact is updated rather than duplicated. Adding to a list never removes the contact from lists it already belongs to.
- Remove from SendGrid List takes the contact off that one list. The contact record and its other list memberships are untouched. FlowSync does not delete SendGrid contacts.
Contacts take a moment to appear. SendGrid processes contact writes asynchronously. It answers “accepted” straight away, then does the work. A run that shows as successful in FlowSync but has not yet appeared in the SendGrid UI is normal. Give it a minute before treating it as a failure.
Step 4: Map your fields
By default, FlowSync maps:
| WordPress | SendGrid |
|---|---|
email | |
| First name | first_name |
| Last name | last_name |
Free maps these core identity fields. Pro adds SendGrid’s remaining reserved fields plus your account’s custom fields.
SendGrid’s reserved fields are: email, first name, last name, alternate emails, address line 1, address line 2, city, state or province or region, postal code, country, phone number, WhatsApp, LINE, Facebook, unique name, external ID, and anonymous ID.
Custom fields have to exist in SendGrid before you can map them. Create them under Marketing → Contacts → Custom Fields, and they appear in the FlowSync mapping dropdown by name. Behind the scenes, SendGrid identifies custom fields by ID (values like e1_T), which is what FlowSync stores, so renaming a field in SendGrid does not break an existing mapping.
If something goes wrong
- Test connection fails with a valid key. The key almost certainly lacks Marketing permissions. Check it in SendGrid under Settings → API Keys, and create a new one if it is Mail Send only. Keys cannot be re-scoped after creation.
- The list dropdown is empty. Create at least one marketing list in SendGrid. FlowSync only reads existing lists; it does not create them.
- A contact synced but a custom field is blank. The field has to be created in SendGrid first. A key that is not a reserved field and not a real custom field ID is dropped by SendGrid without an error.
- The run succeeded, but the contact is not in SendGrid. Wait a minute and check again. SendGrid queues contact writes.
- Check the sync log. Failed syncs record the exact error SendGrid returned.
Still need help? Contact our support team, and we’ll help you get it working.