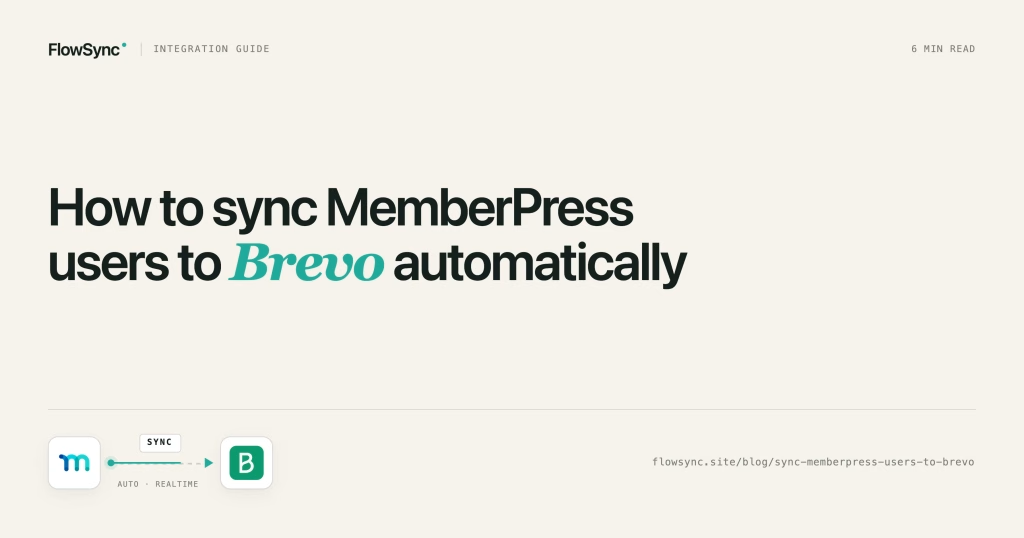
MemberPress does not have a native Brevo integration. That means every new subscriber, every expired membership, every plan change, none of it reaches Brevo unless you do something about it.
Most site owners start with CSV exports. Export your members from MemberPress, clean up the spreadsheet, import into Brevo, assign the right list. Repeat next week. It works until it doesn’t, which is usually around the time someone on your “Active Gold Members” email list hasn’t actually been active for three months.
FlowSync connects MemberPress to Brevo directly inside WordPress. When a membership event happens, the right contact lands on the right Brevo list, with the right fields, without you touching a spreadsheet.
This guide walks through the full setup.
What you can automate
FlowSync listens to MemberPress lifecycle events and pushes contact data to Brevo in response. The workflows you can build include:
- Add new members to a Brevo list when their membership activates
- Remove members from a list when their membership expires or is canceled
- Move members between lists when they upgrade or downgrade plans
- Sync members to different lists based on which MemberPress product they purchased
- Back-fill your entire existing member base into Brevo with a manual bulk run
Each workflow follows the same structure: a trigger fires, optional condition filters that determine which members it applies to, and an action syncs the contact to Brevo.
What you need before starting
- WordPress 6.0 or higher
- MemberPress is installed and active, with at least one membership product configured
- A Brevo account with API access (free Brevo accounts include API access)
- FlowSync installed and activated (free from WordPress.org)
If you want to map custom fields beyond email, first name, and last name, you will also need FlowSync Pro.
Step 1: Connect Brevo
Go to FlowSync > Integrations in your WordPress admin. Find Brevo and click Configure.
You need your Brevo API key. To get it:
- Log in to your Brevo dashboard
- Go to SMTP & API in your account settings
- Open the API Keys tab
- Click Generate a new API key
- Copy the key
Paste the key into the FlowSync Brevo settings and save.
FlowSync will verify the connection and pull your existing Brevo lists. If the connection test fails, double-check that you copied the full key, including any trailing characters.
For developers: The API key is stored in
flowsync_integration_settings_brevoand encrypted through FlowSync’s Credential Vault when your server supports sodium or OpenSSL. The connection check result is cached for 5 minutes. Click “Test connection” to force a fresh round-trip.
Step 2: Create your first workflow
Go to FlowSync > Workflows and click Add New.
Name it something descriptive. “MemberPress Active Members to Brevo” is better than “Brevo Sync” because you will probably create several workflows for different membership events.
Choose the trigger
Under the trigger source, select MemberPress.
You will see the available MemberPress events:
- Membership Created fires when a new subscription record is created, even if payment hasn’t been completed yet
- Membership Activated fires when the membership becomes active (payment confirmed, trial started)
- Membership Expired fires when the membership term ends without renewal
- Membership Canceled fires when the member or an admin cancels the subscription
- Membership Status Changed fires on any status transition
- Membership Plan Changed fires when a member switches from one product to another
For syncing active members to Brevo, choose Membership Activated. This is the right trigger because it only fires once the membership is confirmed active, not when it’s still pending payment.
Add a condition (optional)
If you have multiple MemberPress products and want to route members to different Brevo lists, add a condition.
Click + Add condition and set:
- Field: Membership Plan
- Operator: equals
- Value: Select your membership product (e.g. “Gold Membership”)
This means the workflow will only run for members who have activated that specific plan. Members on other plans won’t be affected.
If you want all members synced to the same list regardless of plan, skip this step.
Add the Brevo action
Under Actions, choose Add to Brevo List.
Select the Brevo list where active members should be added.
FlowSync will map the member’s email, first name, and last name automatically. These three fields are available on the free plan.
If you need to send additional data to Brevo (membership plan name, subscription start date, expiry date, billing amount, or MemberPress custom fields), you will need FlowSync Pro. Pro maps these through virtual fp_memberpress_* fields that resolve the membership data at sync time.
Save the workflow and set it to Active.
From this point, every member who activates the selected plan gets added to your Brevo list automatically.
Step 3: Handle expired and canceled members
Adding members to a list is only half the job. You also need to remove them when their membership ends.
Create a second workflow:
- Trigger: MemberPress > Membership Expired
- Condition: Membership Plan equals “Gold Membership” (same plan as your add workflow)
- Action: Remove from Brevo List > select the same list
Repeat this for Membership Cancelled if you want immediate removal on cancellation rather than waiting for the membership term to end.
This keeps your Brevo list accurate. Active members are on the list. Expired and cancelled members are removed. Your email campaigns only reach people with current access.
For developers: FlowSync’s remove-from-list action uses Brevo’s contact unlink API. It removes the contact from the specified list but does not delete the contact record from Brevo entirely. The contact remains in your Brevo account and can be re-added by a future workflow run.
Step 4: Segment by membership plan
If you sell multiple MemberPress products (say Gold, Silver, and Bronze), you probably want separate Brevo lists for each.
The pattern is straightforward. Create one add workflow and one remove workflow per plan:
Gold Members:
- Workflow 1: Membership Activated + Plan equals Gold > Add to “Gold Members” list
- Workflow 2: Membership Expired + Plan equals Gold > Remove from “Gold Members” list
Silver Members:
- Workflow 3: Membership Activated + Plan equals Silver > Add to “Silver Members” list
- Workflow 4: Membership Expired + Plan equals Silver > Remove from “Silver Members” list
This gives you clean segmentation in Brevo. You can send different email sequences to different tiers without worrying about overlap.
On the free plan, three active workflows is the limit. If you need more than three (which you will if you’re segmenting multiple plans with add and remove workflows), upgrade to Pro for unlimited workflows.
Step 5: Sync existing members
If you already have MemberPress members when you install FlowSync, the workflows above will only catch new events going forward. Your existing members won’t appear in Brevo automatically.
FlowSync has a manual run feature for this. Open any active workflow, click the Run manually option from the workflow menu, and FlowSync will process your existing members in batches.
The manual run:
- Evaluates conditions against each member (so only Gold members get synced if you set that condition)
- Processes users in batches of 50 through Action Scheduler
- Let’s you preview eligible members with a dry run before committing
- Optionally skips members who were recently synced
This is useful when first connecting Brevo, or after creating a new membership plan and needing to back-fill its members into a list.
For developers: Manual runs fire with
eventset tomanual_runand emptydata. MemberPress condition resolvers fall back to the member’s most recent subscription record via the MemberPress API rather than relying on event context data. Delay actions are stripped from manual runs automatically.
Using Brevo double opt-in
If your members are in Europe (or you are), you may need double opt-in for email compliance. Brevo supports this natively, and FlowSync can use it.
In your Brevo integration settings within FlowSync, enable Double Opt-In and enter the template ID of your Brevo DOI confirmation email.
You need to create this template in Brevo first:
- Go to Brevo > Campaigns > Templates
- Create a new template
- Include the Brevo opt-in confirmation tag (Brevo’s docs explain the exact tag)
- Note the template ID
When DOI is enabled, FlowSync uses Brevo’s double opt-in confirmation endpoint instead of the standard contact creation endpoint. The member receives a confirmation email first. They only land on your list after clicking the confirmation link.
This matters for GDPR compliance in countries like Germany, Austria, and other EU member states where double opt-in is either legally required or strongly recommended for commercial email lists.
Common mistakes
Syncing all membership events to one list. If you add members during activation and never remove them upon expiry, your list grows indefinitely and includes people who no longer have access. Always pair an add workflow with a corresponding remove workflow.
Using “Membership Created” when you mean “Membership Activated.” Created fires before payment is confirmed. If you sync on created, you will add members to Brevo who never actually paid. Use Activated for confirmed members.
Not testing with a real member account. Before activating workflows for your live site, create a test MemberPress membership, walk through the subscription process, and confirm the contact appears in the correct Brevo list with the right fields. Check your FlowSync logs if nothing shows up.
Mapping custom fields without Pro. The free plan maps email, first name, and last name only. If you set up field mappings for membership dates or plan names, they won’t sync until Pro is active. The mappings are saved and will start working when you upgrade, but they’re inactive on free.
FAQ
Does this work with MemberPress corporate accounts?
FlowSync syncs the WordPress user associated with the membership. If MemberPress creates individual user accounts for corporate sub-accounts, each one can be synced independently.
Can I sync MemberPress members to multiple Brevo lists at once?
Yes. Add multiple “Add to Brevo List” actions in a single workflow, each targeting a different list. Or create separate workflows with different conditions routing to different lists.
What happens if a member is already in the Brevo list?
Brevo updates the existing contact record by email. No duplicate is created. If you’re sending field data (name, custom attributes), the existing values get updated.
Can I trigger email campaigns from Brevo based on the sync?
Yes. Once a contact lands on a Brevo list, you can use Brevo’s own automation to trigger a welcome sequence, onboarding campaign, or any other email flow tied to that list. FlowSync handles the WordPress-to-Brevo sync. Brevo handles what happens after.
Does the sync happen in real time?
FlowSync queues CRM actions through Action Scheduler for reliability. In practice, contacts typically appear in Brevo within a few seconds of the membership event. The background queue prevents the sync from blocking the WordPress request that triggered it (like a checkout page), and retries automatically if Brevo is temporarily unavailable.
Next steps
Once your MemberPress-to-Brevo sync is running, consider these additional workflows:
- WooCommerce order completed to sync customers who buy one-time products alongside memberships
- Form submitted workflows to add leads from Contact Form 7, WPForms, or Gravity Forms to separate Brevo lists
- Membership Plan Changed triggers to move upgrading or downgrading members between lists automatically
All of these use the same trigger-condition-action structure and connect to the same Brevo integration you already configured.
Install FlowSync free to get started with up to 3 workflows, or upgrade to Pro for unlimited workflows and advanced field mapping.

FlowSync
FlowSync syncs members, customers, and form leads to Brevo, Mailchimp, HubSpot, Klaviyo, and more based on activity happening on your WordPress site.